
How to Create a Client Onboarding Workflow
By the Streamline Creative team · Published
A client onboarding workflow turns a signed agreement into a running project without anyone having to remember what comes next. This guide walks through building one step by step, from mapping your stages to deciding what to automate, with examples you can adapt to your own services.
How do you create a client onboarding workflow?
Map the stages every client goes through from signed agreement to first milestone, list the tasks inside each stage, assign one owner and a due date to each task, write the messages clients receive at each step, and store it all in one place the whole team can see. Then run it with a real client, note where it breaks, and automate only the stable, repetitive parts.
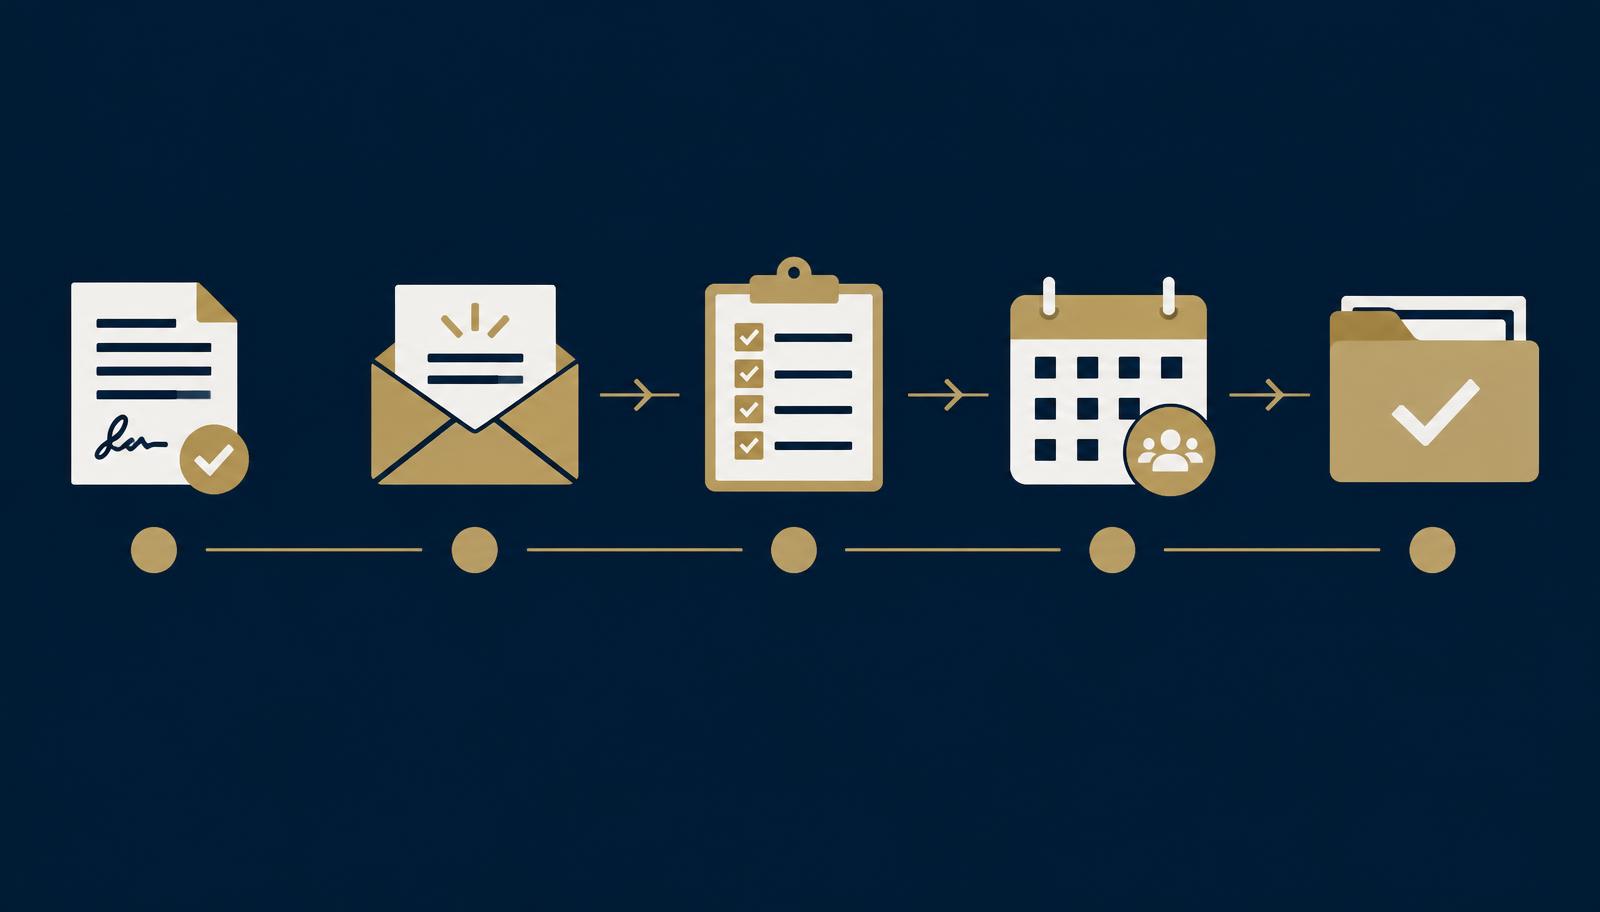
Key takeaways
- Start by mapping what already happens, not by choosing a tool.
- Every onboarding task needs one owner and a due date, or it will drift.
- Write your client-facing messages once, as templates, instead of from scratch each time.
- Run the workflow manually with a real client before automating anything.
- Review the workflow after every few clients and adjust it while it is still small.
This guide builds on our client onboarding checklist, which lists what to include at each stage. Here the focus is different: turning that list into a workflow with an order, an owner, and a place to live, so it runs the same way for every client.
Step 1: Map the stages every client goes through
Before opening any tool, write down what actually happens between “yes, let’s work together” and “the project is running.” For most service businesses it looks something like this:
- Agreement and payment. Contract signed, first invoice paid.
- Welcome. The client gets a welcome message and knows what happens next.
- Information and access. You collect logins, brand assets, background details, and preferences.
- Kickoff. A call or detailed message confirms goals, scope, and communication expectations.
- Setup. Your internal project space, tasks, and deadlines are created.
- First milestone. The first visible piece of work is delivered and the engagement settles into its normal rhythm.
Agreement and payment
Contract signed, first invoice paid.
Welcome
Client knows what happens next and when.
Information and access
Logins, assets, and background collected.
Kickoff
Goals, scope, and communication confirmed.
Setup
Project space, tasks, and deadlines created.
First milestone
First visible work delivered; normal rhythm begins.
Your version may have more or fewer stages. The point of this step is to see the whole path on one page before you change anything.
Step 2: List the tasks inside each stage
For each stage, list every task that has to happen, including the small ones that usually live in someone’s head. Under “Information and access,” for example, that might be: send the intake form, send the access request, follow up if anything is missing after three days, and confirm to the client when everything is received.
A useful test: could a new team member read the list and run onboarding without asking you what to do? If not, the missing detail is a task that has not been written down yet.
Step 3: Give every task one owner and a due date
Onboarding stalls when a task belongs to “the team.” Assign each task to one named person, even in a two-person business, and give it a real due date relative to the trigger, such as “welcome email within one business day of the signed agreement.”
Relative dates matter because onboarding starts on a different day for every client. “Day 1,” “Day 3,” and “Day 7” are easier to reuse than fixed calendar dates.
Step 4: Write the client-facing messages once
Most onboarding delays are communication delays: someone means to send the welcome email, rewrites it from scratch, and sends it two days late. Draft the recurring messages as templates now:
- The welcome message with next steps and timing
- The intake form or information request
- The access request, with exactly what you need and why
- The kickoff invitation and agenda
- The “everything is received, here is what happens next” confirmation
Templates are not about sounding robotic. They give you a solid starting point so the personal part, the sentence about this specific client, is the only thing you write fresh.
Step 5: Put the workflow in one visible place
The workflow needs a home everyone can see: a project template in a tool like ClickUp, a shared board, or even a well-structured document. What matters is that anyone can open it and see what is done, what is waiting, and what is blocked.
If you want to see how intake, task creation, ownership, and communication can fit together in practice, our client onboarding solution shows a worked example.
Step 6: Run it manually, then automate the stable parts
Run the workflow by hand with your next one or two clients. Note every place where you had to improvise, wait, or explain something twice. Those notes are the improvement list.
Once the sequence is stable, automate the parts that follow the same rules every time: sending the welcome email when the agreement is signed, creating the task list from a template, and reminding you when a form has not come back. Keep the kickoff conversation and anything client-specific with a person. Our guide to what to automate first walks through how to choose.
Worked example: one stage, fully mapped
Here is how the “Information and access” stage looks once tasks, owners, timing, and messages are written down. The names are placeholders; swap in your own team.
Example workflow stage
Stage 3: Information and access
- Trigger
- Welcome message sent (Day 1).
- Day 1
- Send intake form and access request template. Owner: account lead.
- Day 3
- Check what has arrived; send a friendly follow-up for anything missing. Owner: account lead.
- Day 4
- Test each login and note any access problems. Owner: assistant.
- Day 5
- Send the “everything is received” confirmation and book the kickoff. Owner: account lead.
- Done when
- All access works, the intake form is complete, and the kickoff is scheduled.
- Good to automate later
- The Day 1 emails and the Day 3 reminder. Keep the access check with a person.
Common mistakes to avoid
- Building the tool first. A beautiful setup around an unclear process is still an unclear process.
- Collecting everything at once. Ask for information when it is needed, not in one overwhelming form on day one.
- No owner for exceptions. Decide in advance who handles the client who does not fit the standard path.
- Never reviewing it. After every few clients, spend fifteen minutes on what slowed down and fix one thing.
A simple way to start this week
Open a blank document, write the six stages across the top, and list the tasks you already do under each one. That is version one of your workflow. It does not need to be complete to be useful; it needs to exist somewhere other than your memory. If you want a structured starting point, the client onboarding guide goes deeper on each stage.
Frequently asked questions
What is a client onboarding workflow?
A client onboarding workflow is the repeatable sequence of steps that takes a new client from a signed agreement to an active, well-started project. It covers internal tasks, client-facing messages, information and access collection, and the handoff into regular work.
How long should client onboarding take?
For most service businesses, one to two weeks from signed agreement to first milestone works well. Shorter is fine for simple services. What matters more than speed is that the client always knows the next step and nothing waits on a forgotten task.
What tools do you need for a client onboarding workflow?
A project or task tool to hold the steps (such as ClickUp), a form or document tool for collecting information, and email or a client portal for communication. The workflow matters more than the tools; a clear checklist in a shared document beats a fancy setup nobody follows.
Should you automate client onboarding?
Automate the stable, repetitive parts: welcome emails, form requests, task creation, and reminders. Keep the human parts human, such as the kickoff conversation and anything that needs judgment about a specific client's situation.
What is the difference between a client onboarding checklist and a workflow?
A checklist lists what must happen. A workflow also shows the order, the owner, the timing, and how work moves between stages and people. Most businesses need both: the workflow as the map, the checklist as the daily confirmation.
See a Client Onboarding Solution
An example of how intake, task creation, ownership, and communication can fit together so every client gets the same strong start.
See a Client Onboarding SolutionWant help putting this into practice?
You do not need to know exactly what solution you need. Tell us where the work gets stuck and we will take it from there.
Tell us what’s not working